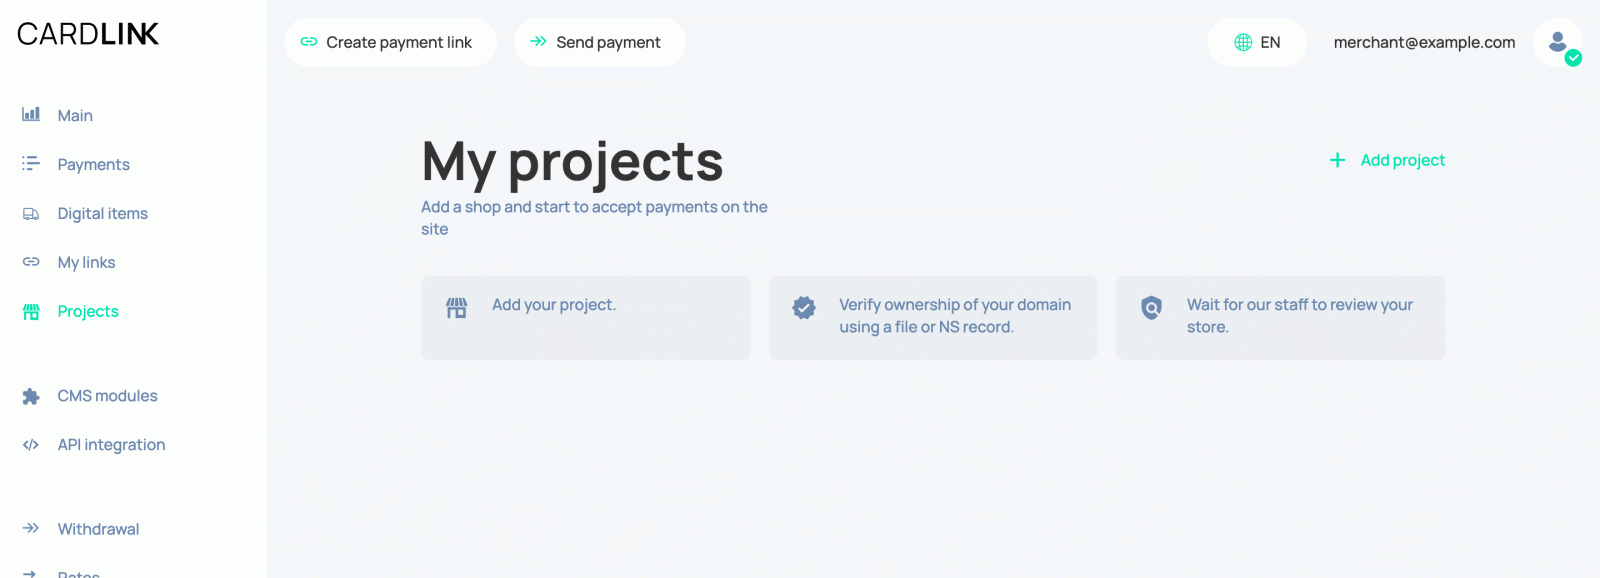
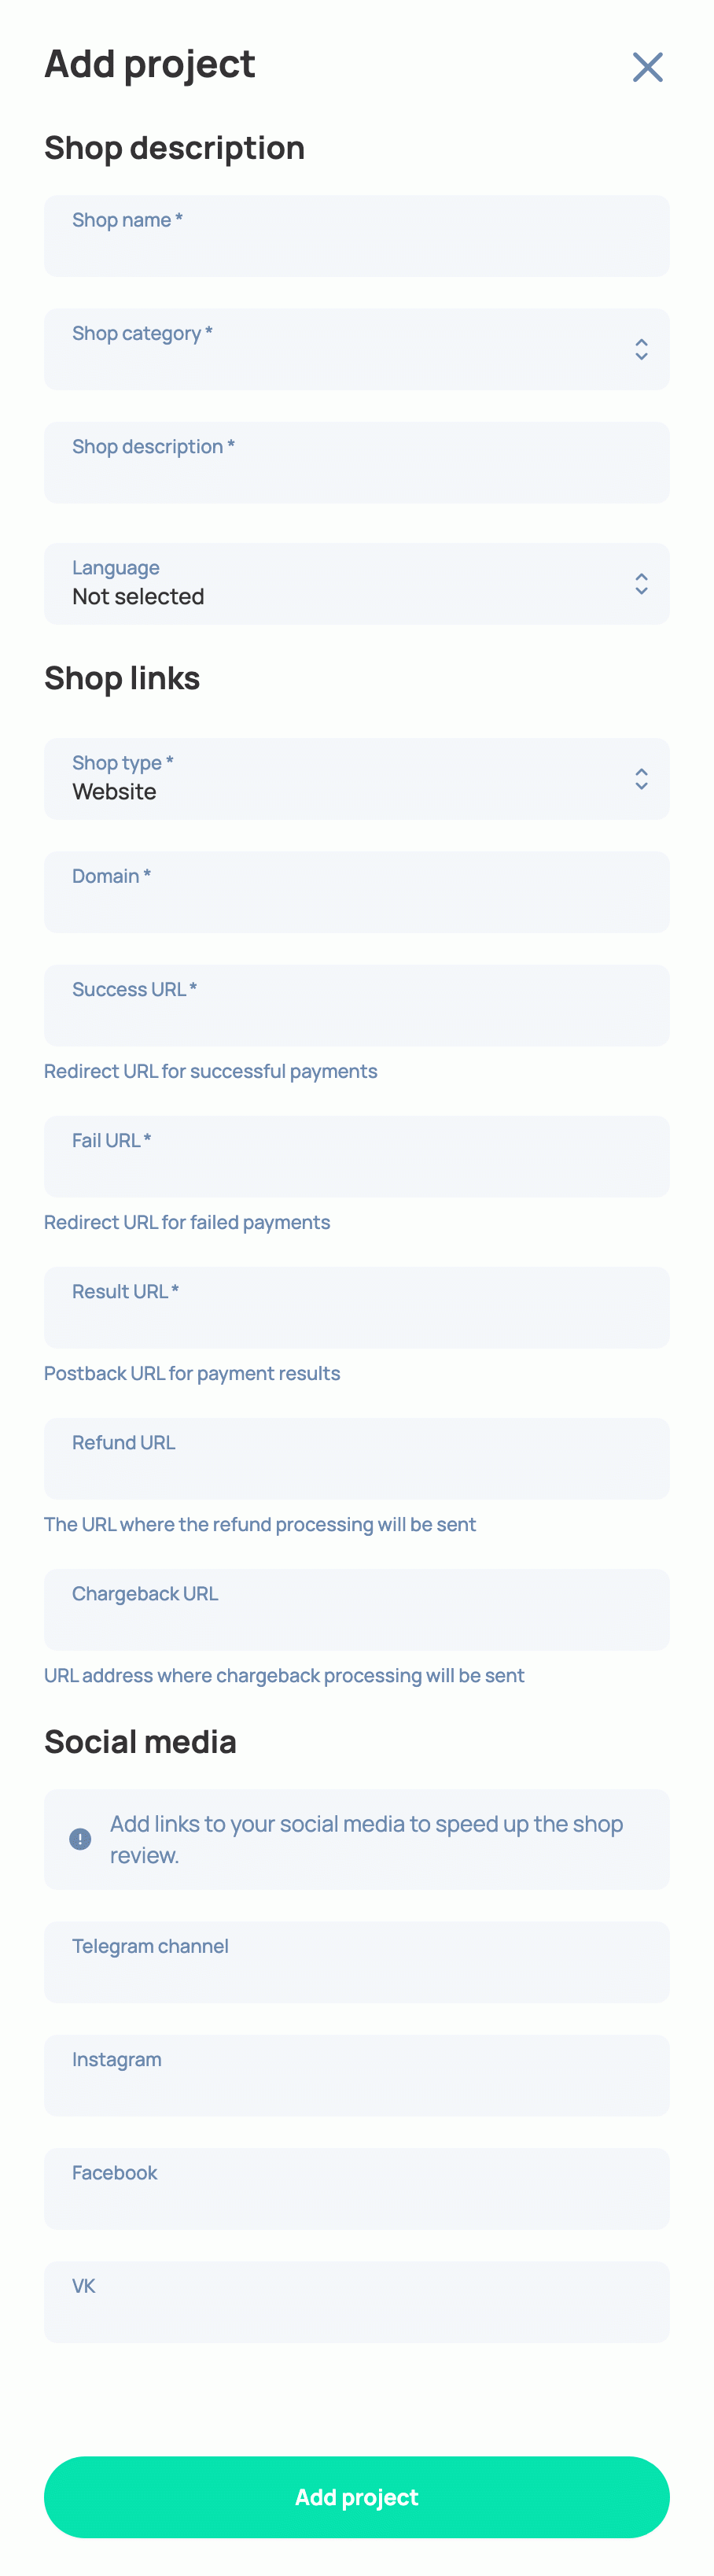
You need to verify a new shop before you can use it.
There are two options for shop verification:
1) NS record confirmation
2) Text file confirmation
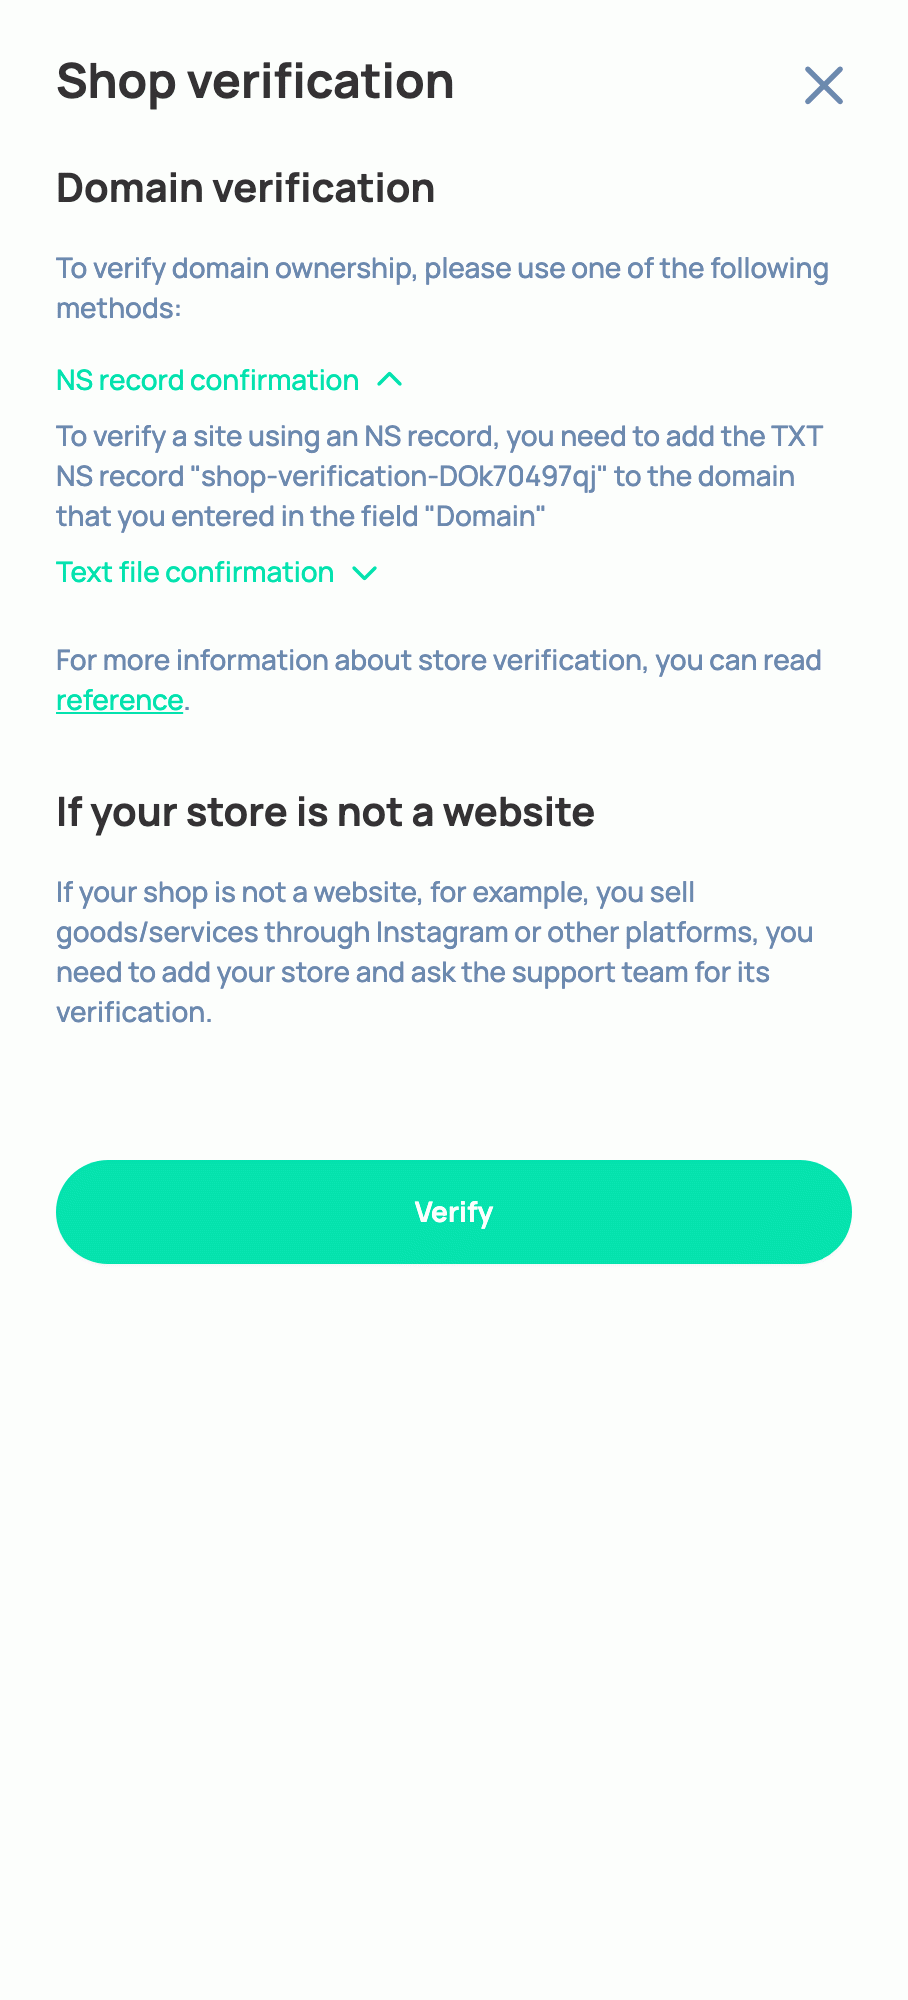
You can see example on the screenshot:
NS record confirmation
For this method you need to have access to Control Panel of your hosting.
For example, if you need to add record "shop-verification-DOk70497qj" like on the screenshot you need to
do following steps
1) You go to the Control Panel of your hosting provider
2) Search for DNS SERVER settings

3) There should be an option to add new DNS record

4) You add new NS record with TXT type

5) The text of new record should be the same that you see in CARDLINK. For example
"shop-verification-DOk70497qj". You add this text without double quotes

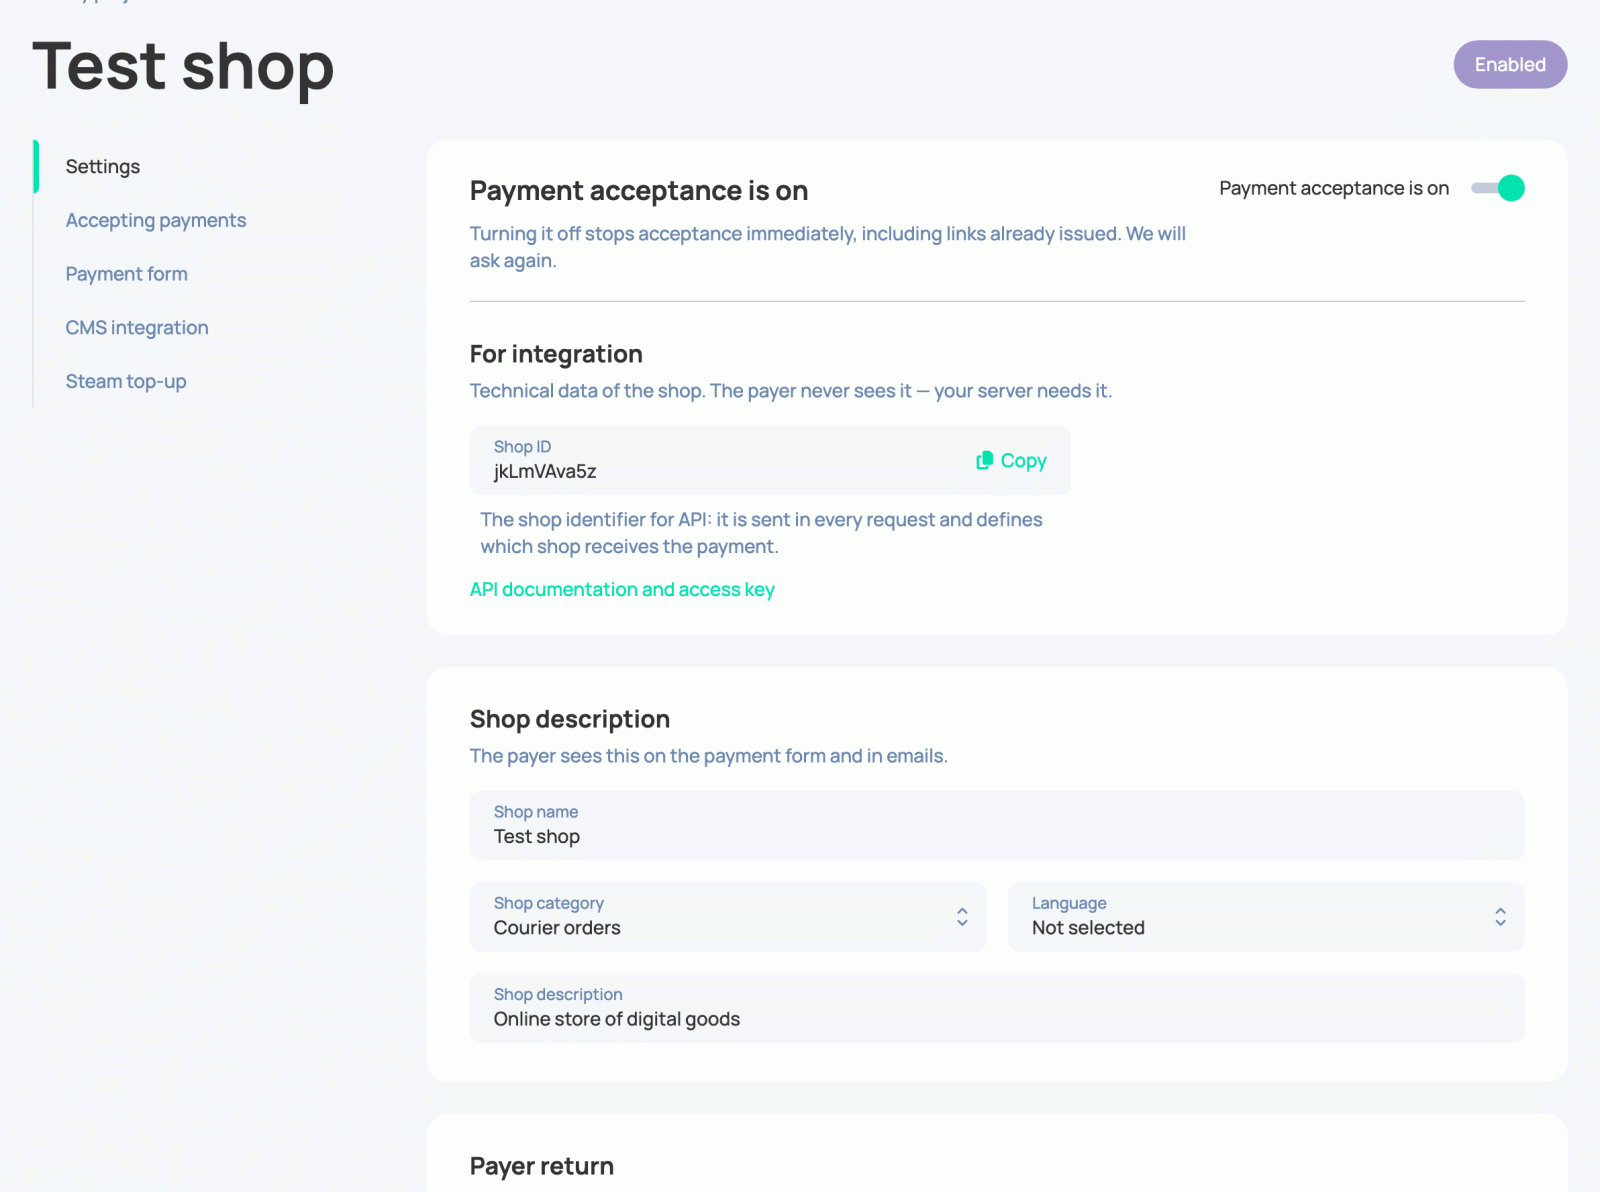
6) You get back to the Projects page in CARDLINK and press on your Shop
7) Then you press Verify button in the opened panel and
wait
8) If your Shop was successfully verified, you will see Pending review status

Text file confirmation
This method might be easier to use because it requires
access for files on your server.
1) You connect to your server using SFTP client
2) Go to the
root folder of your website. For example /public_html/
3) Then you can upload verification file to
this folder. You can download it in the verification panel via the File for verification link
4) Get back to the Projects page in CARDLINK and press on your Shop
5) Then you press Verify
button in the opened panel and wait
6) If your Shop was successfully verified, you will see Pending review status
If your store is not a website
If your shop is not a website, for example, you sell goods/services through Instagram or other
platforms, you need to add your store and ask the support team for its verification.